
Help centreRepairsUpdated
Book a repair in
Create a repair ticket at the counter: customer, device, fault, price, an optional deposit and technician — then print the ticket for the customer.
By the end of this a ticket exists with the customer, the device and the fault on it, a price, any deposit already recorded against the job, and a printed slip with a tracking code the customer can use.
You need a customer in front of you (or on the phone) and the device's details. Nothing else has to exist first — a new customer can be added inside the same flow.
- 01CustomerSearch for them, or add them here.
- 02DeviceBrand, model, IMEI or serial, and the unlock code.
- 03IssueWhat is wrong. More than one fault is fine on one ticket.
- 04PartsAnything you already know it needs.
- 05PriceWhat you are quoting, and the tax treatment.
- 06PaymentA deposit now, if you are taking one.
- 07ReviewEverything on one screen before it becomes a job.
You can leave later steps empty and come back to them. Nothing is committed — no stock, no charge — until the ticket is created.
Open Repairs and choose New ticket
The ticket is built in seven short steps down one panel. You can go back to any step before you create it.
app.slickcell.com/services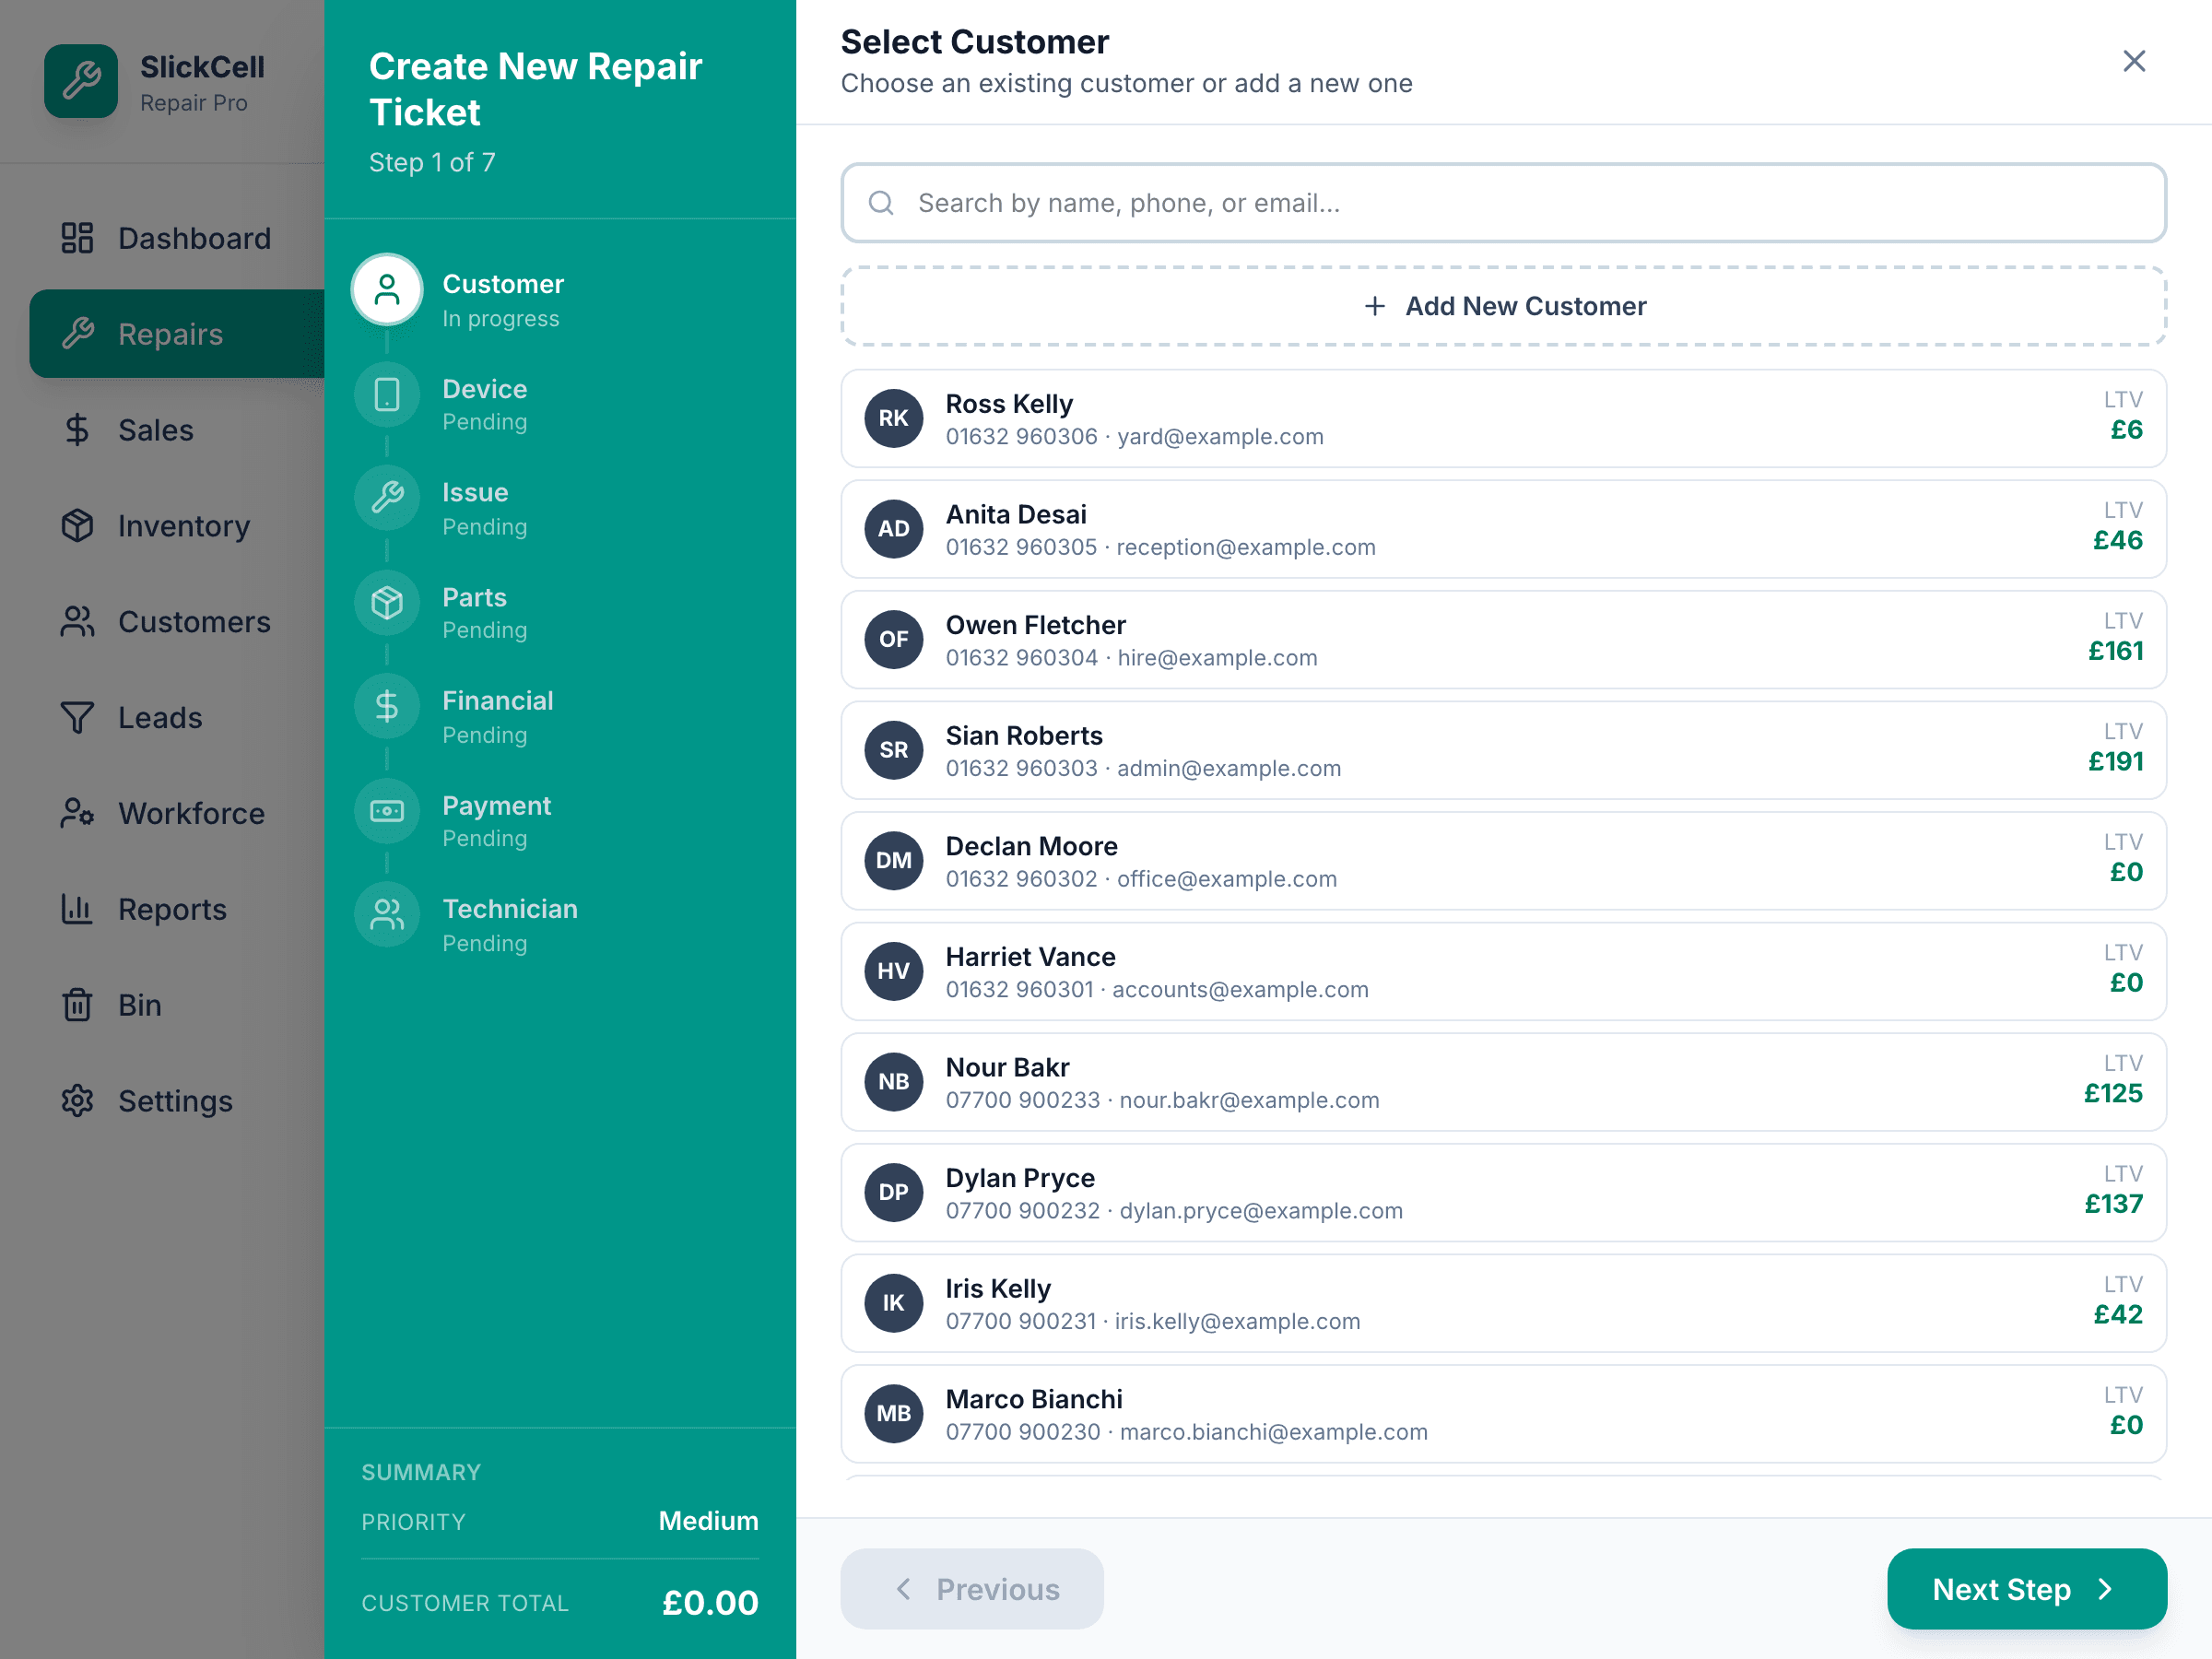
Customer
Search by name, phone or email. If they are not there, add them here — name and a phone number is enough to carry on.
Device
Brand, model, colour and the IMEI or serial number. The IMEI is typed as it is — the app does not check its format — and if the customer knows the passcode you can record it so the technician is not stuck later.
Type a model the app has not seen and it offers to add it to your shop's list, so next time it is one click.
app.slickcell.com/services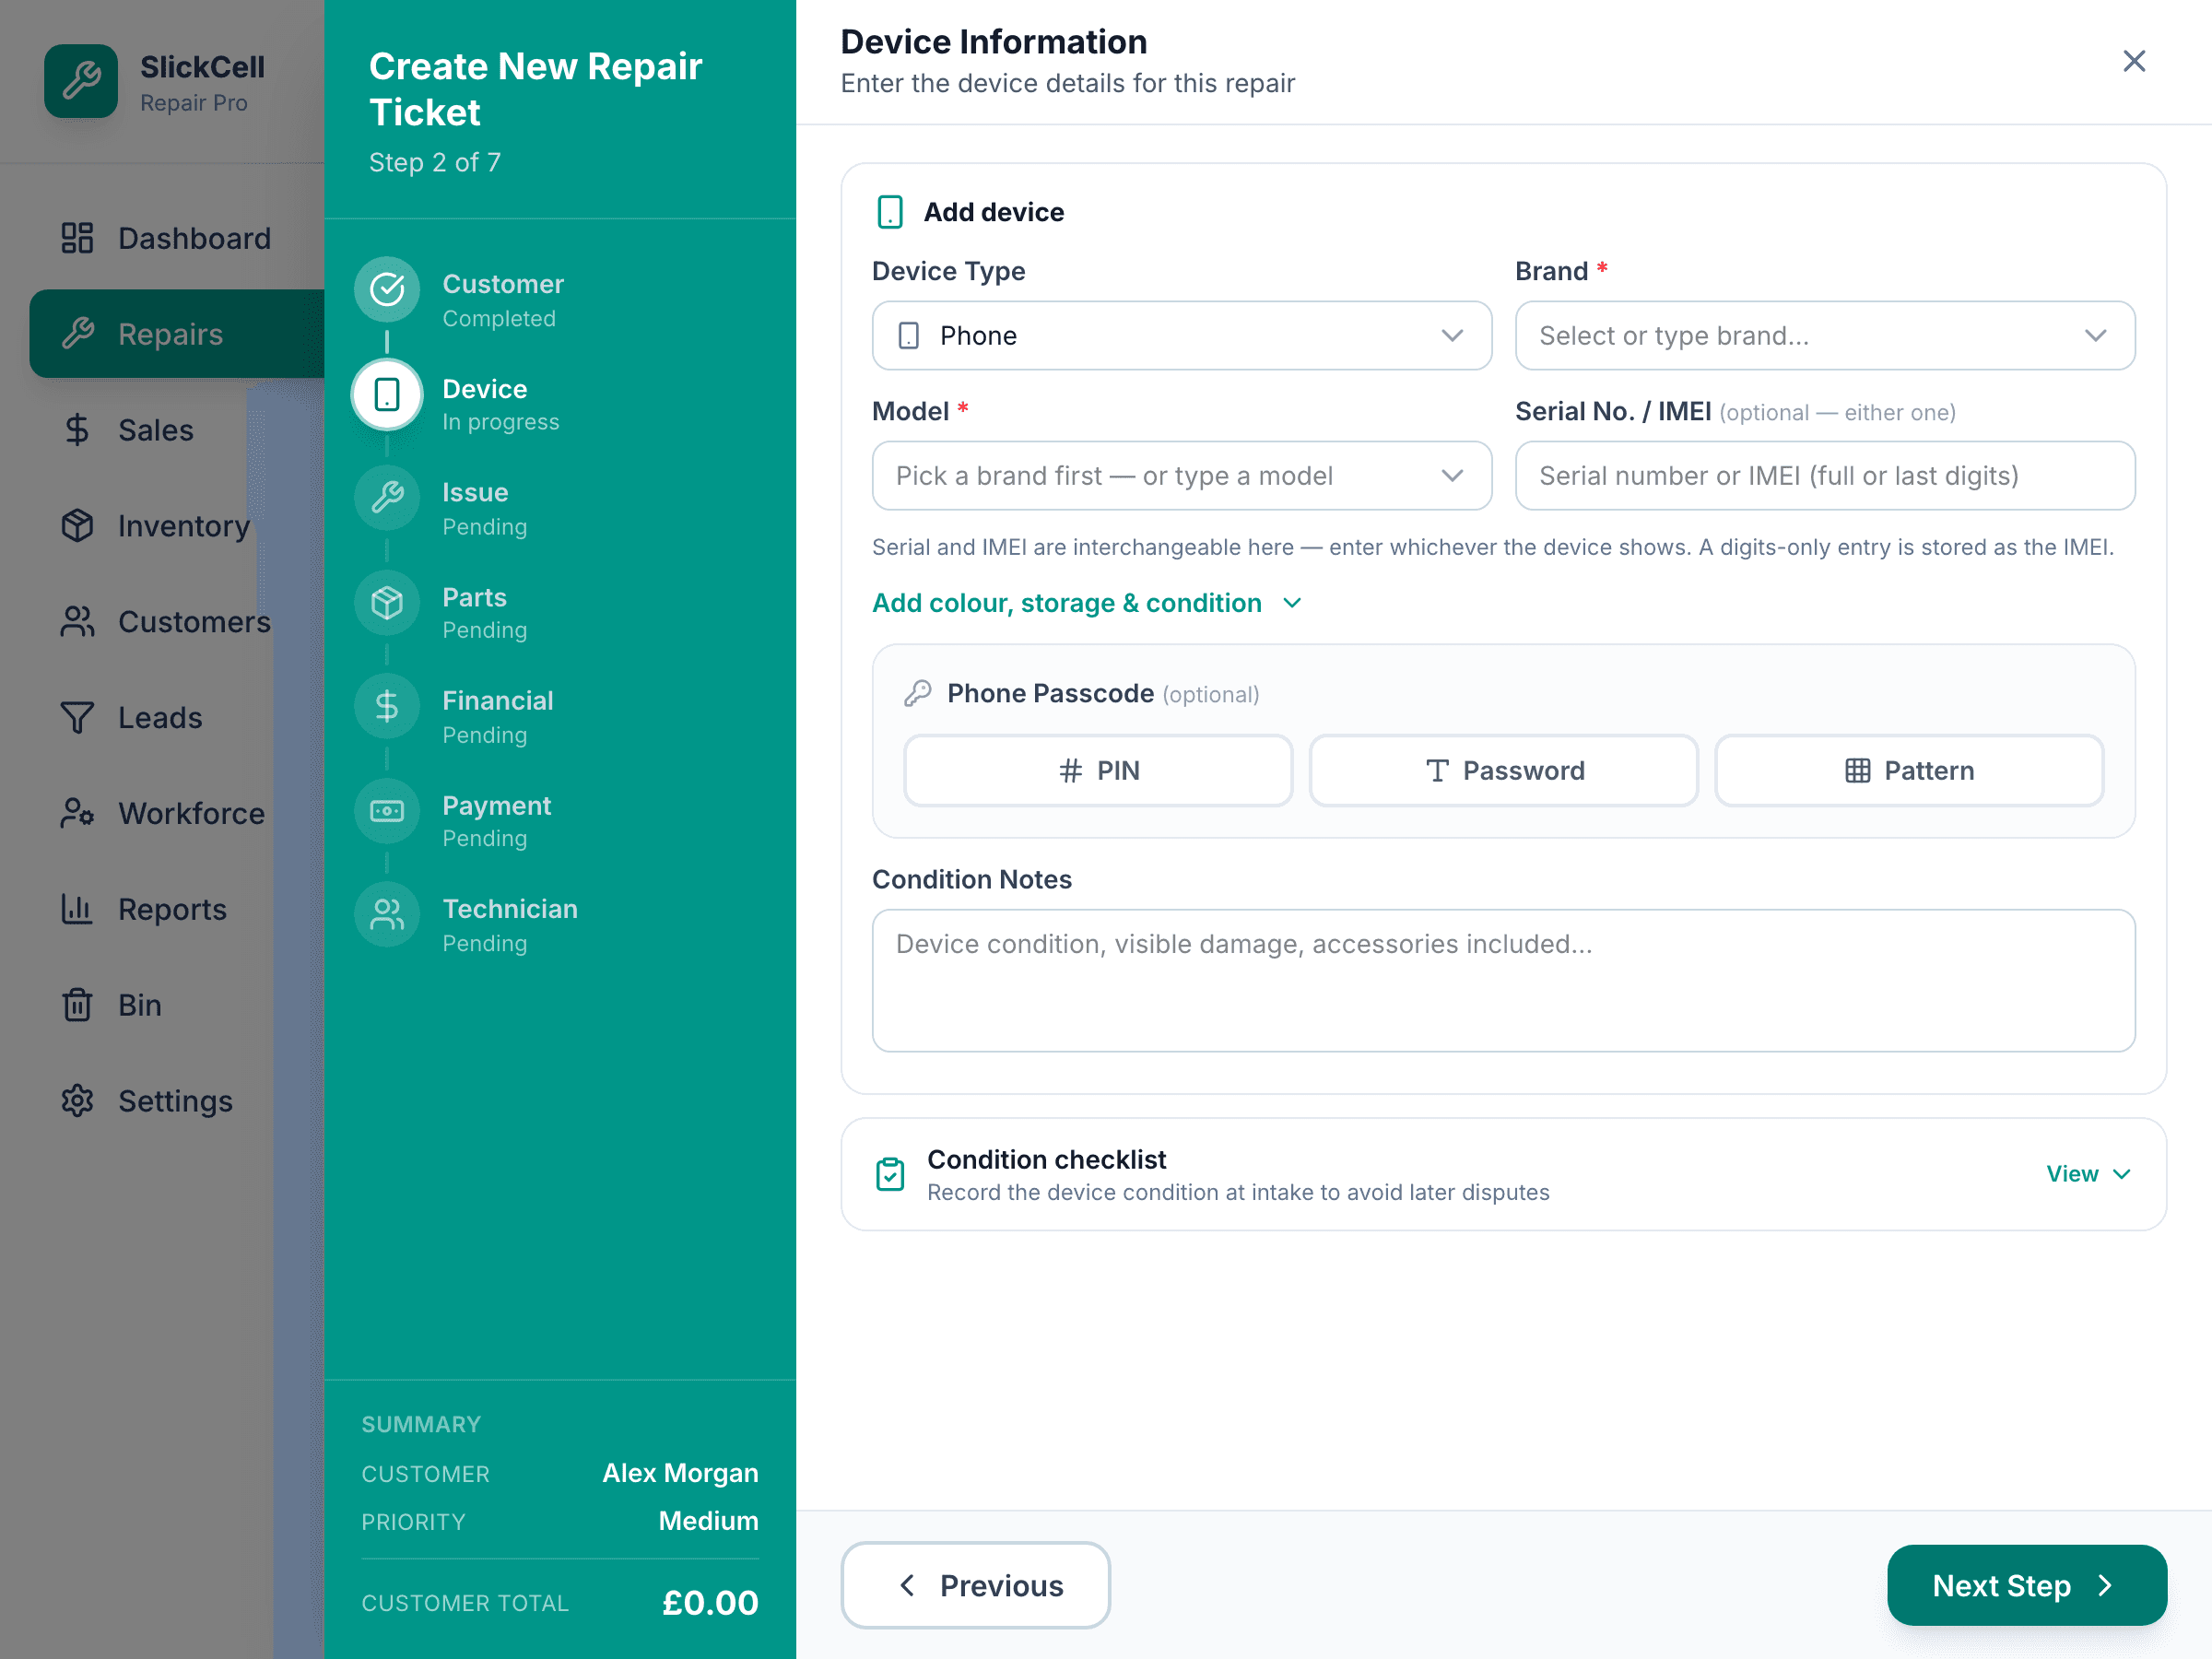
Issue
Pick one or more faults from the list, or add your own wording. If the fault is not known yet, mark the ticket for diagnosis and set the price later. Priority and the promised time are set here too.
app.slickcell.com/services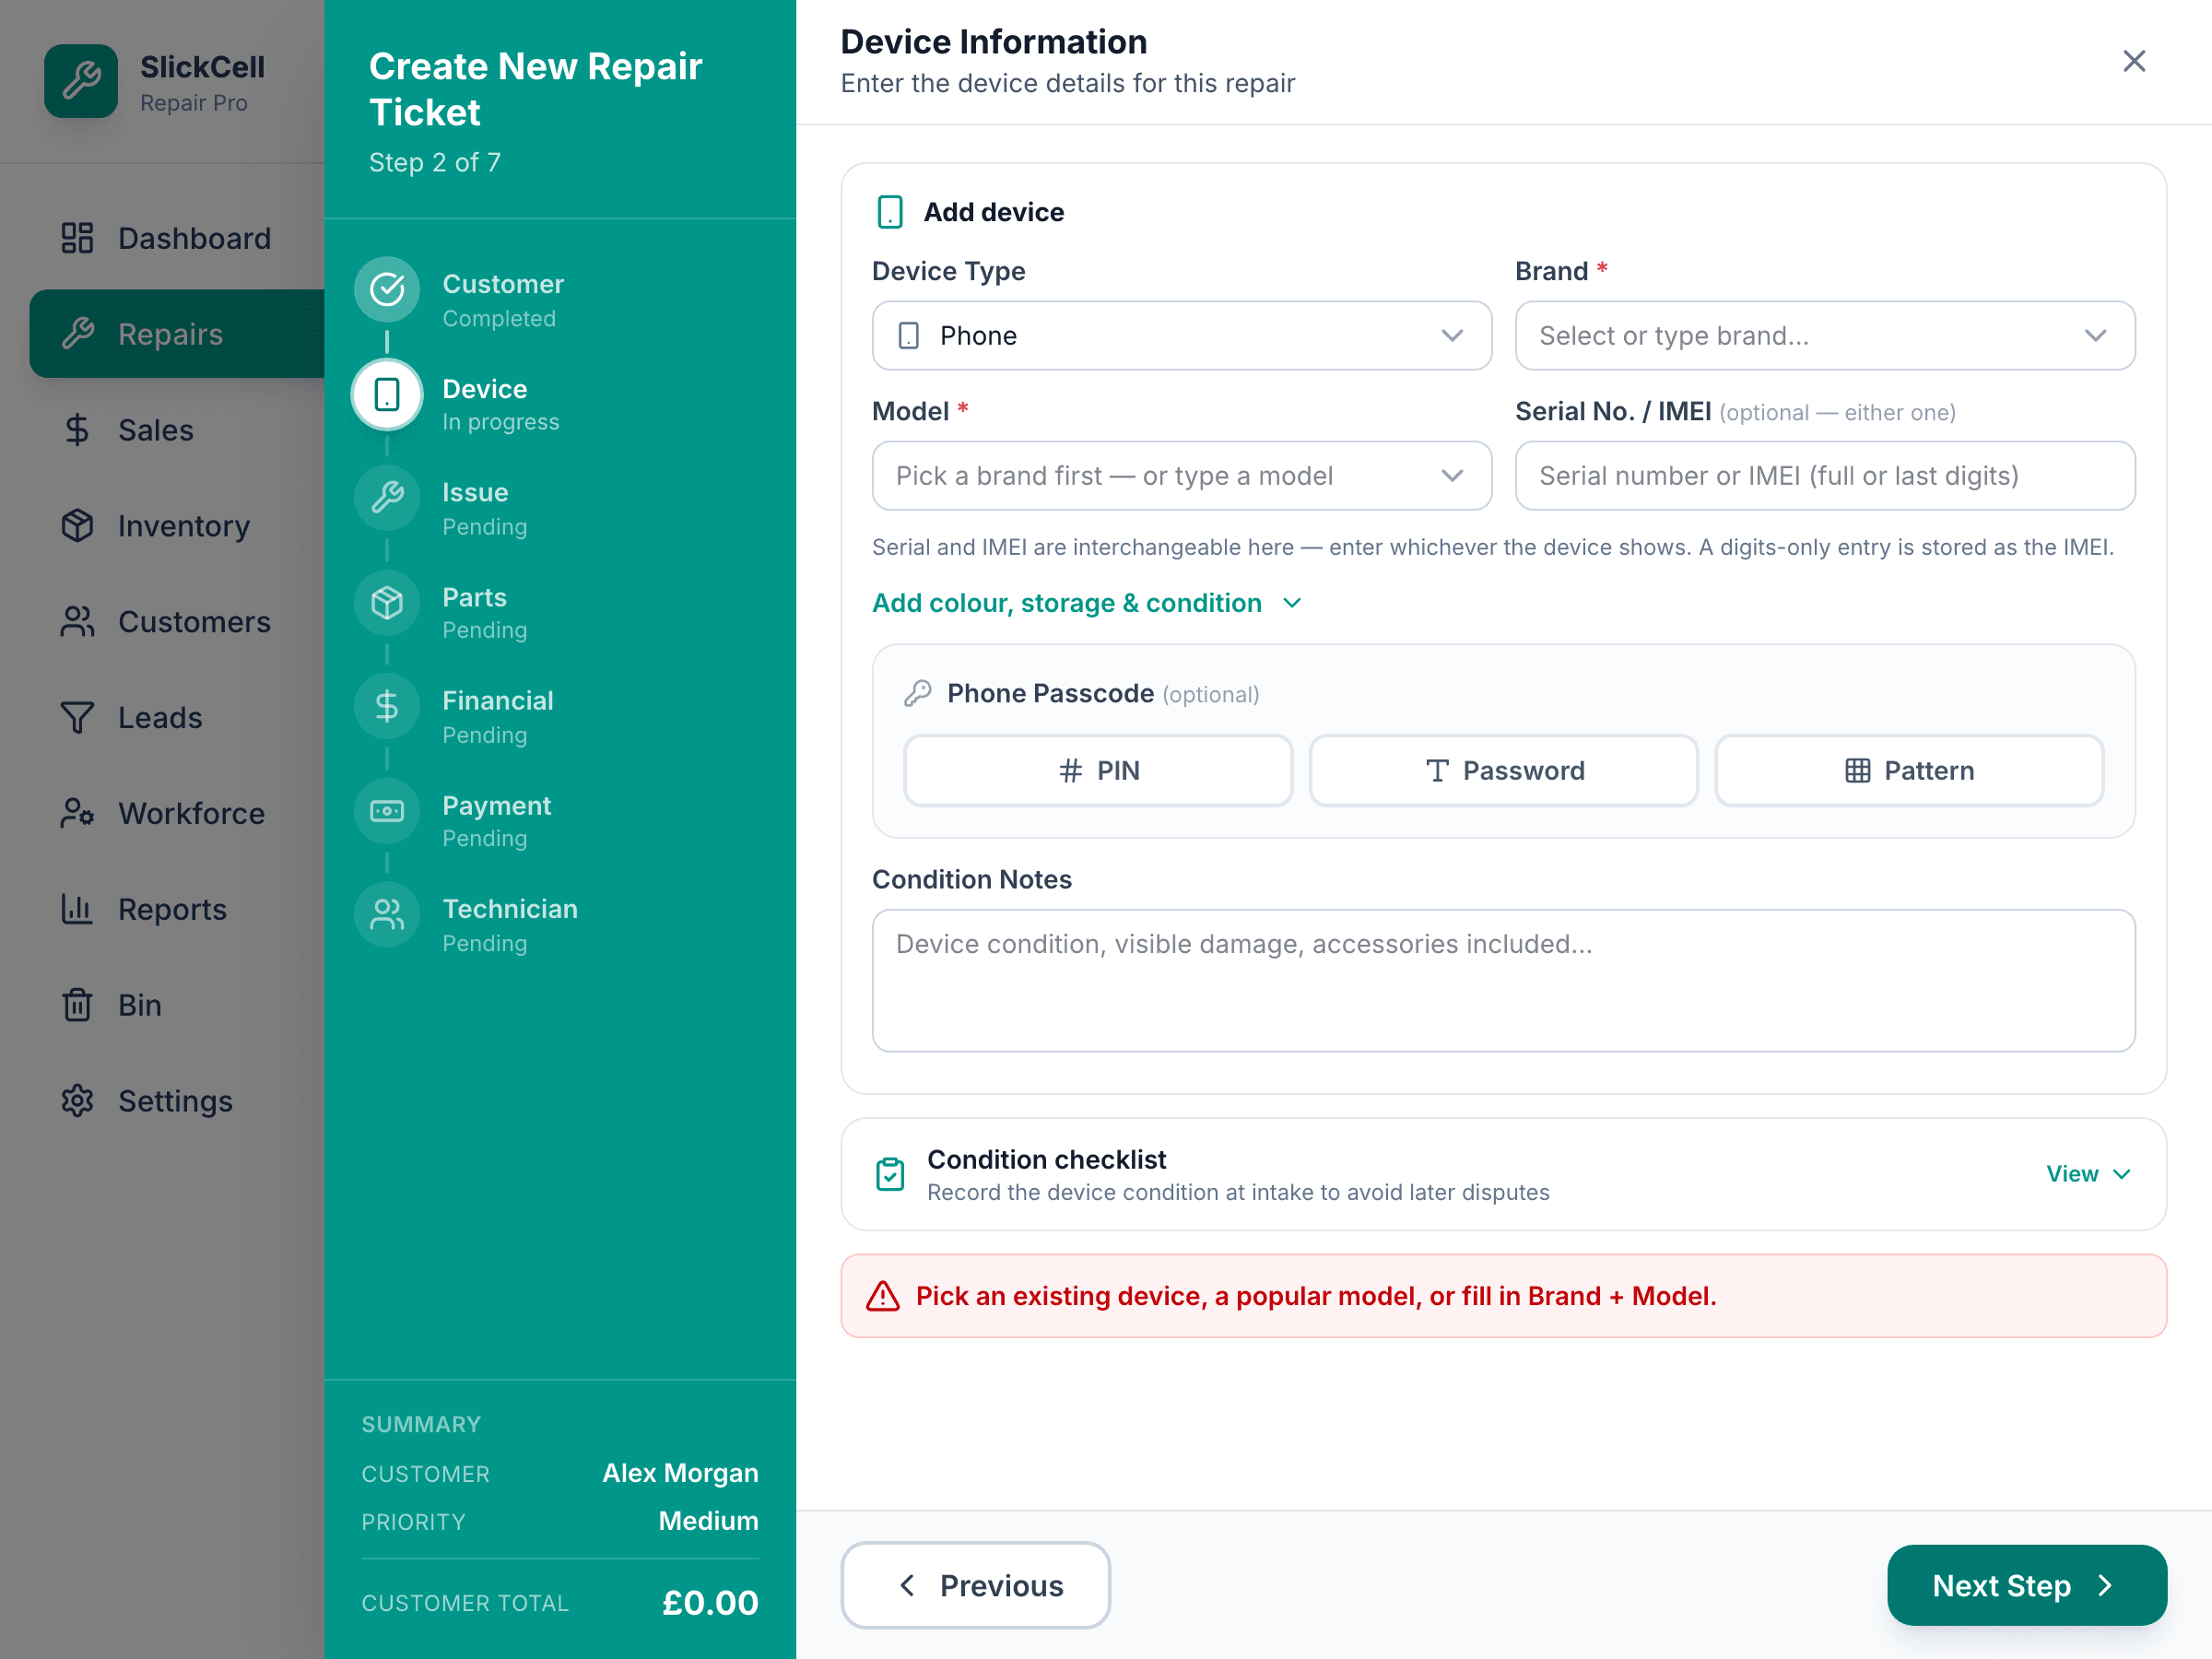
Parts (optional)
Search stock and add the parts you expect to use. They are committed to this ticket, so the shelf count is right before the technician starts.
Price
The agreed price, the labour, and the tax rate this job is charged at. What the customer will pay is shown before you go further.
Deposit (optional)
If the customer pays something now, record it here and how they paid. It sits against this job and comes off the bill at collection — you will not need to remember it.
Cash deposits need an open cash drawer; the app tells you if there is not one.
app.slickcell.com/services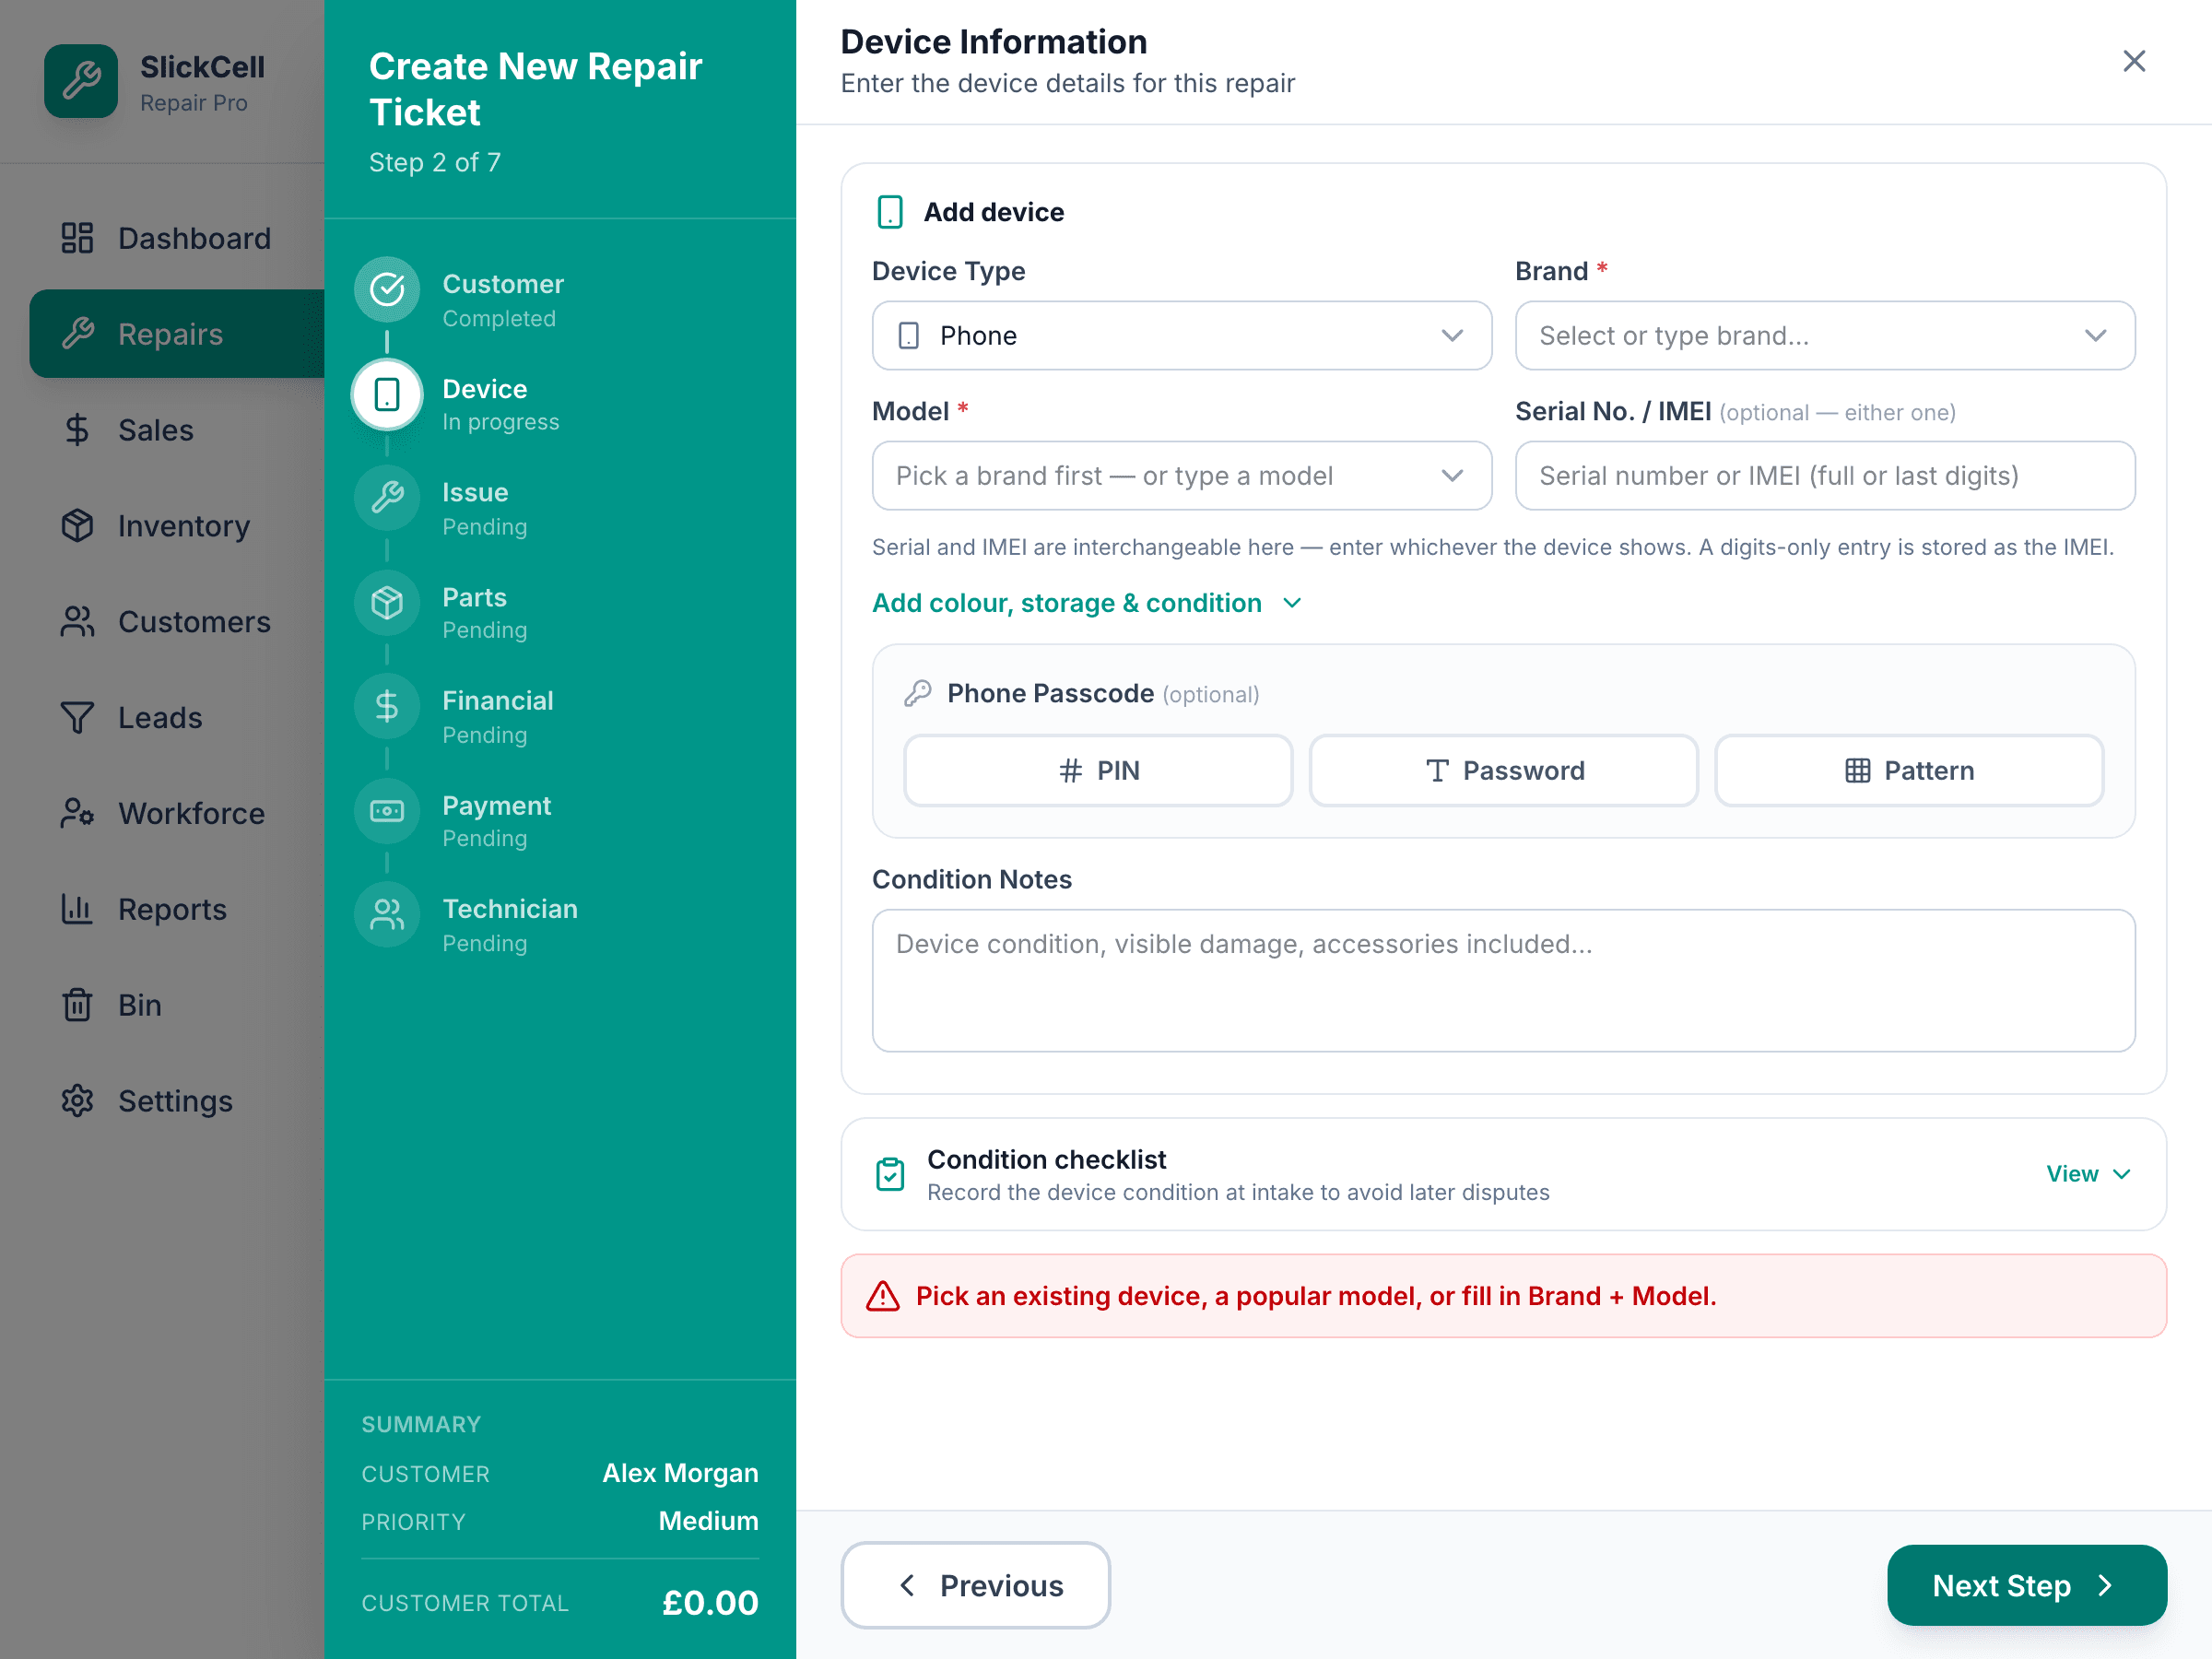
Technician (optional) and create
Assign a technician now or leave it for the manager. Choose Create Repair Ticket.
Print the ticket
After creating, print the customer slip. It carries a code the customer can scan to see the repair's status without logging in.
app.slickcell.com/services/:id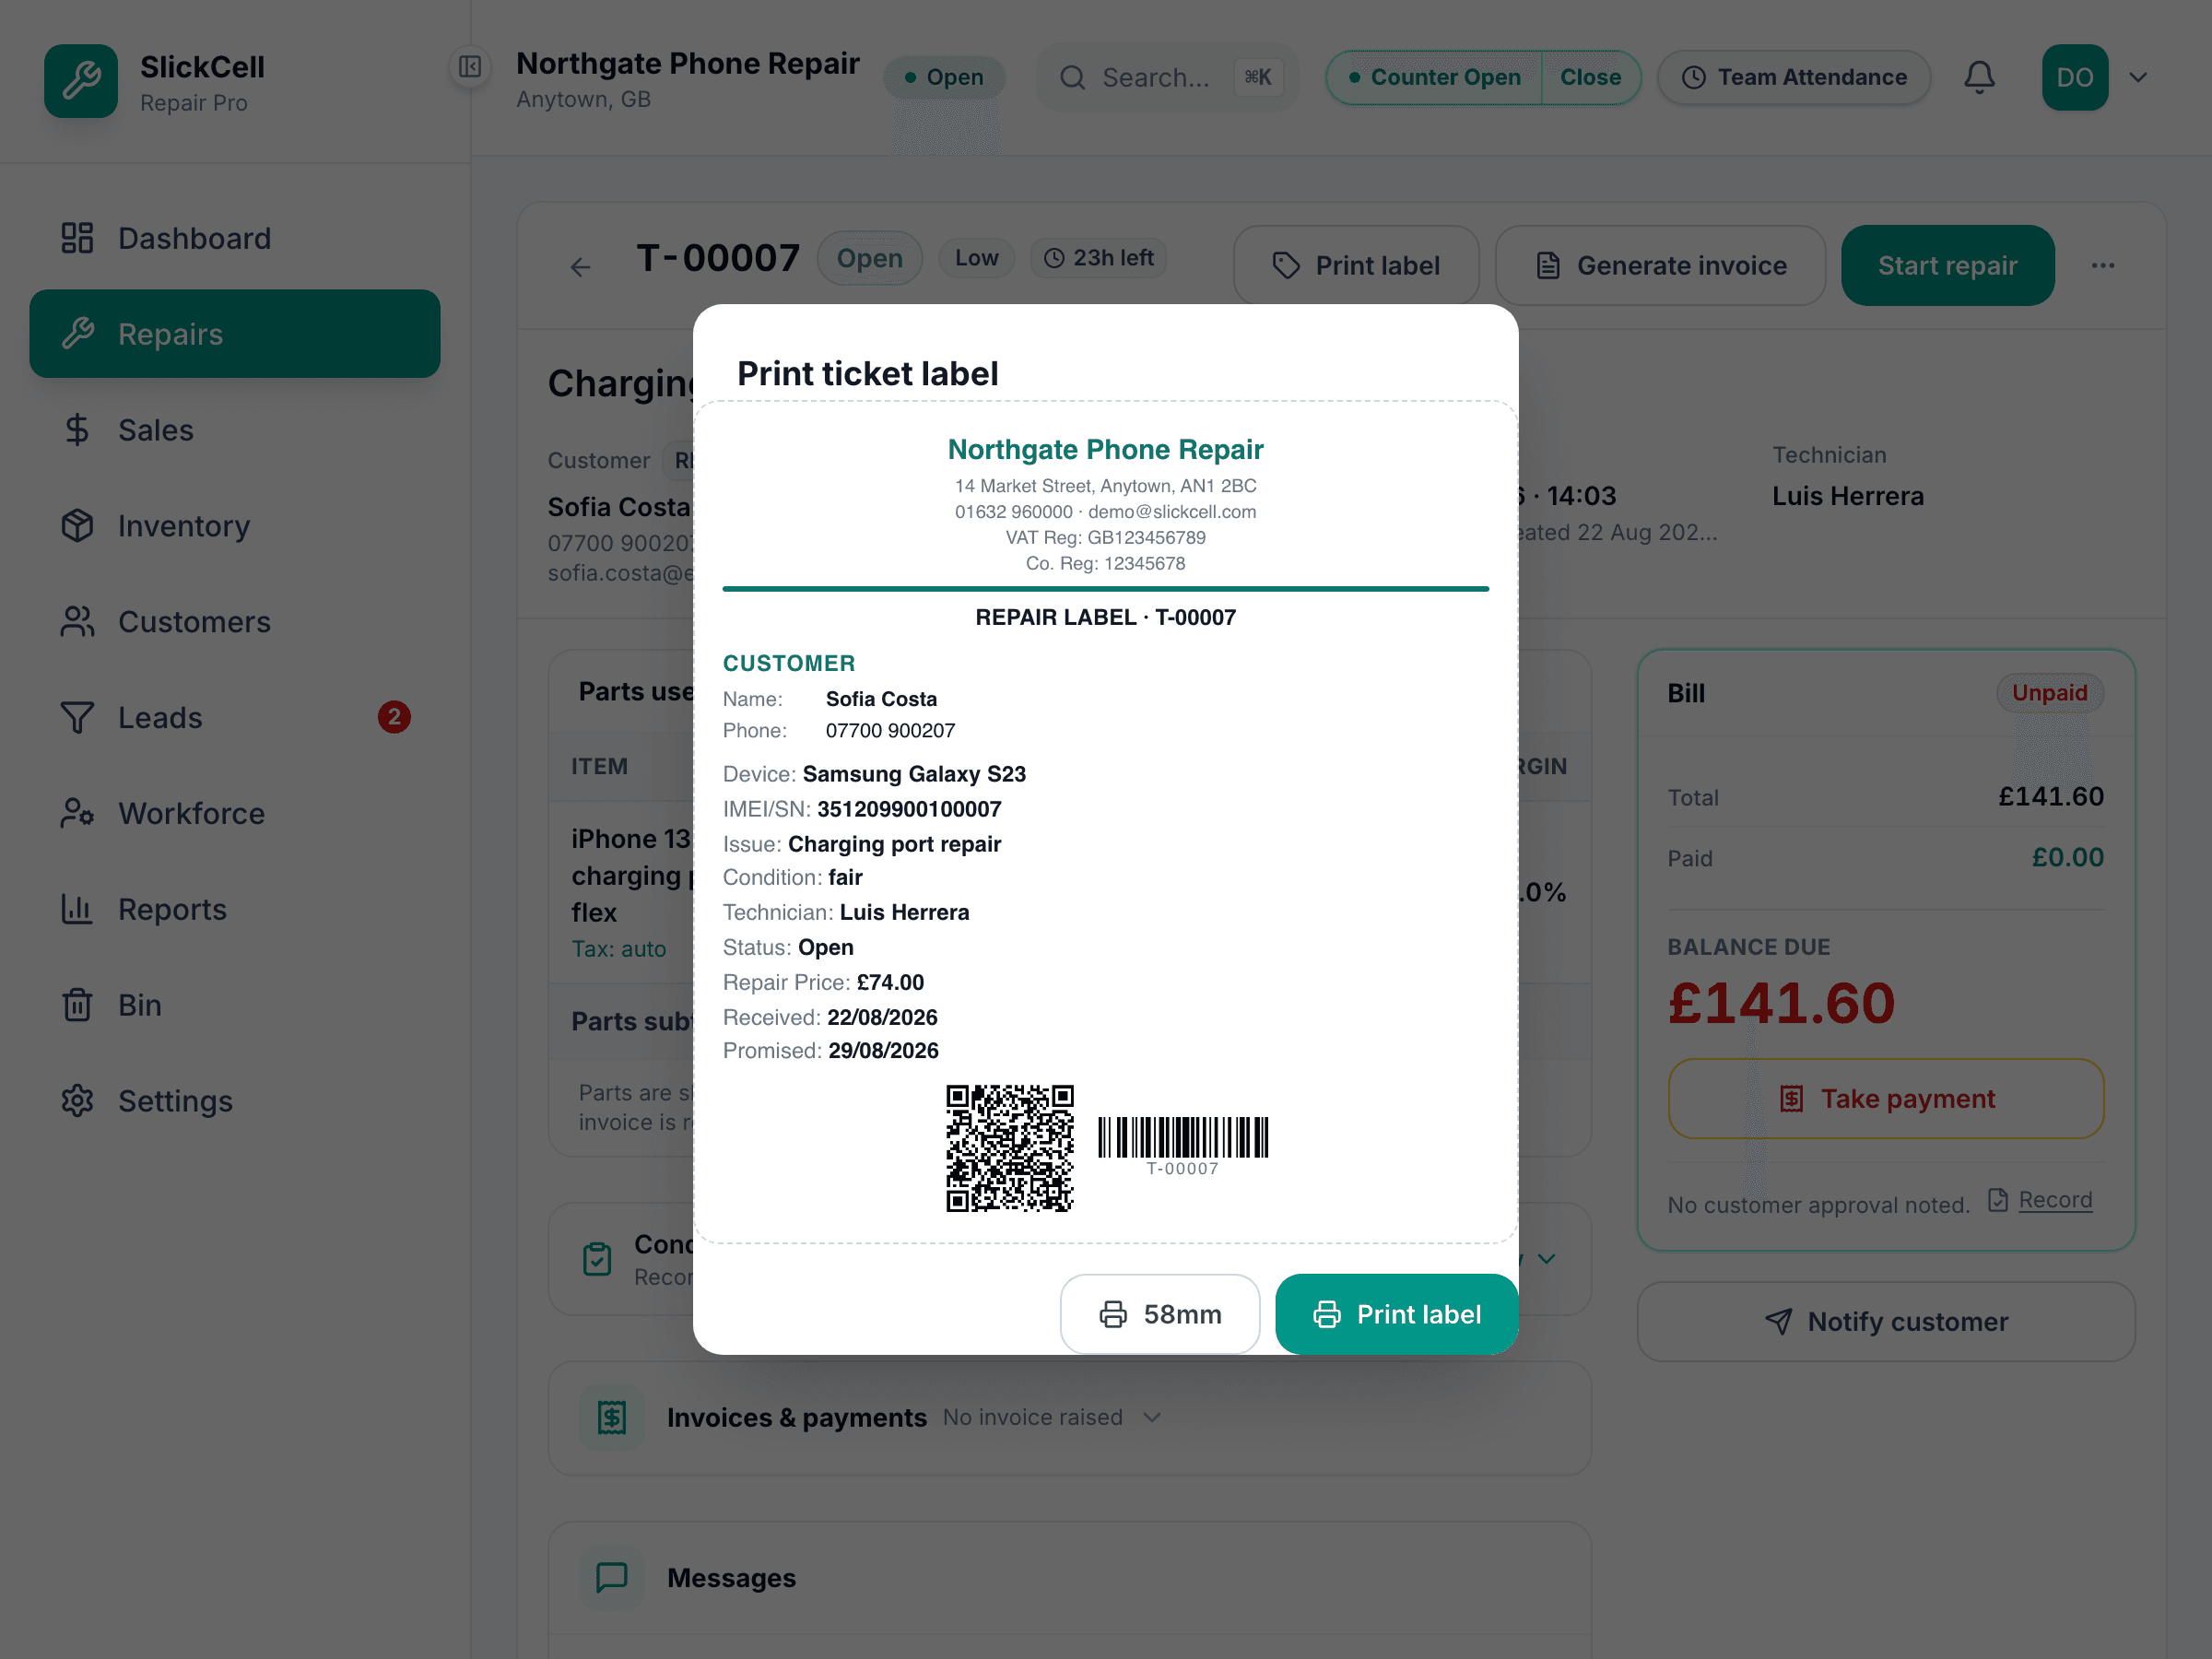
Questions that come up
- The customer does not know the IMEI
- Leave it blank or type the last few digits. It is free text and can be completed later from the ticket.
- Two faults on one phone
- One ticket. Pick both issues in the Issue step; they are priced together and the ticket stays one record.